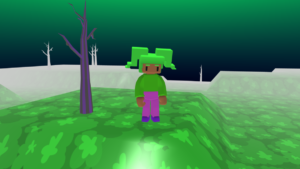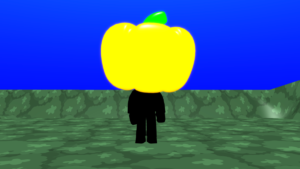

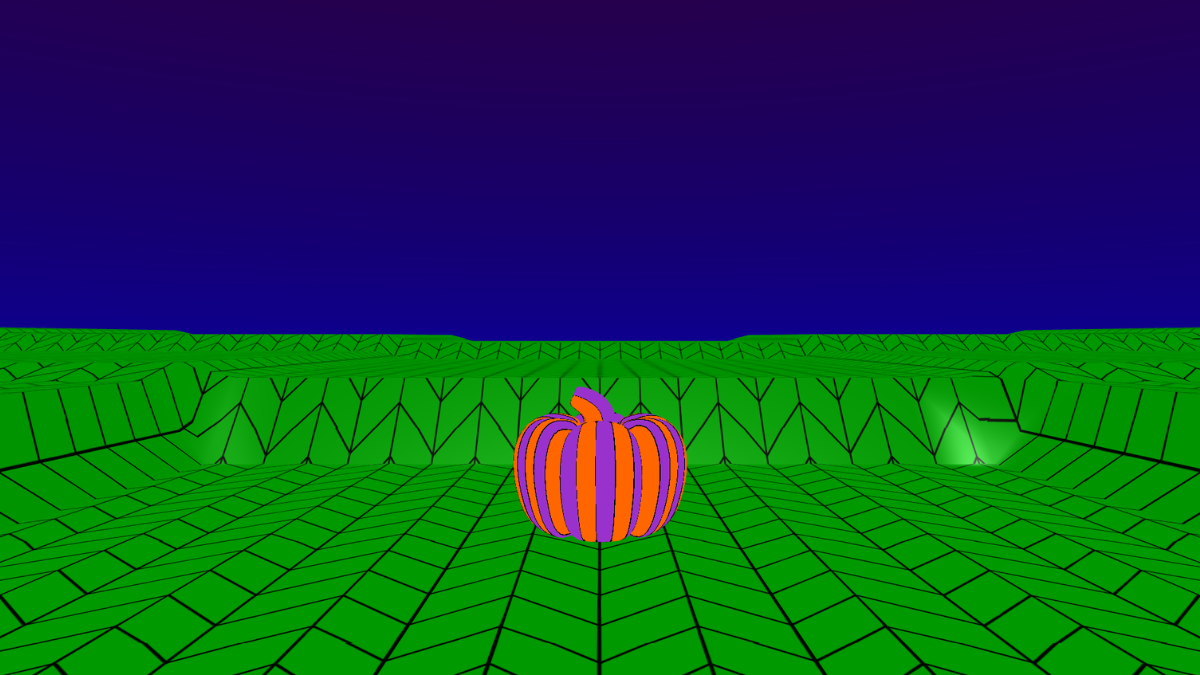
Personalise your world
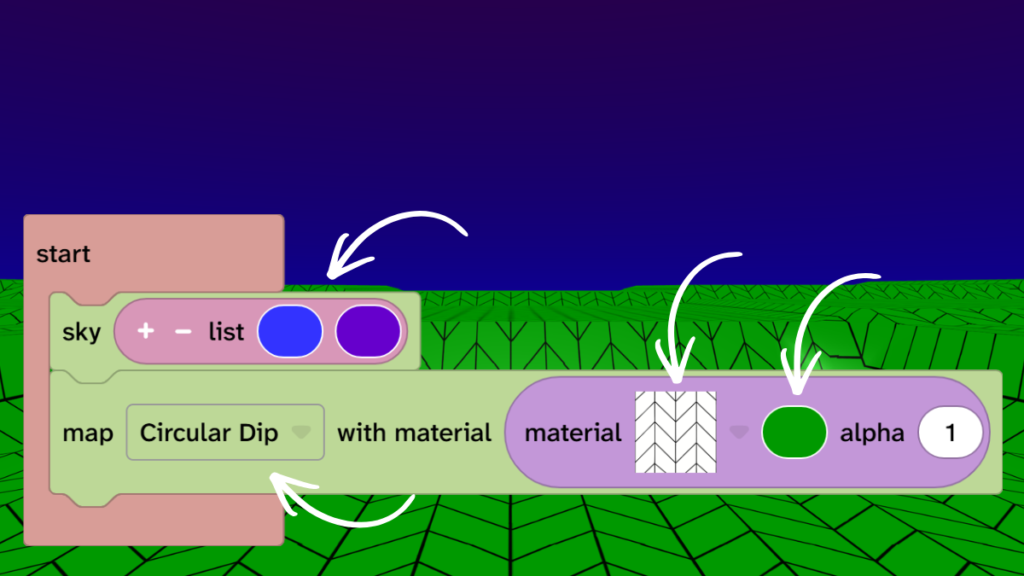
- On the sky block click on the colours and choose colours for your sky.
- On the map block click the ‘Flat’ dropdown and choose a map terrain from the list.
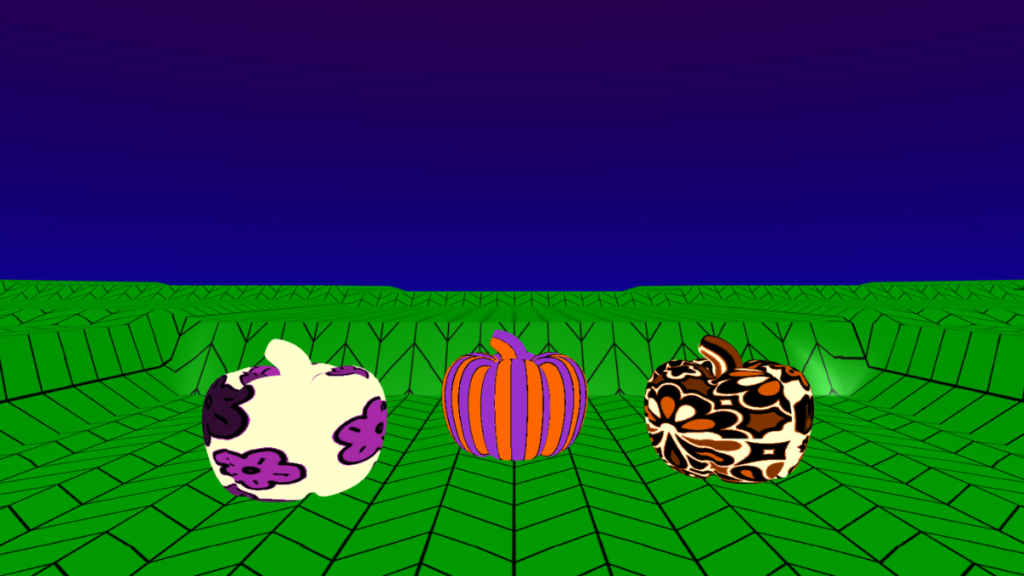
- On the map block click ‘material’ dropdown and choose a material for your map.
- On the map block click the colour block and choose a colour for your map.
Add a pumpkin
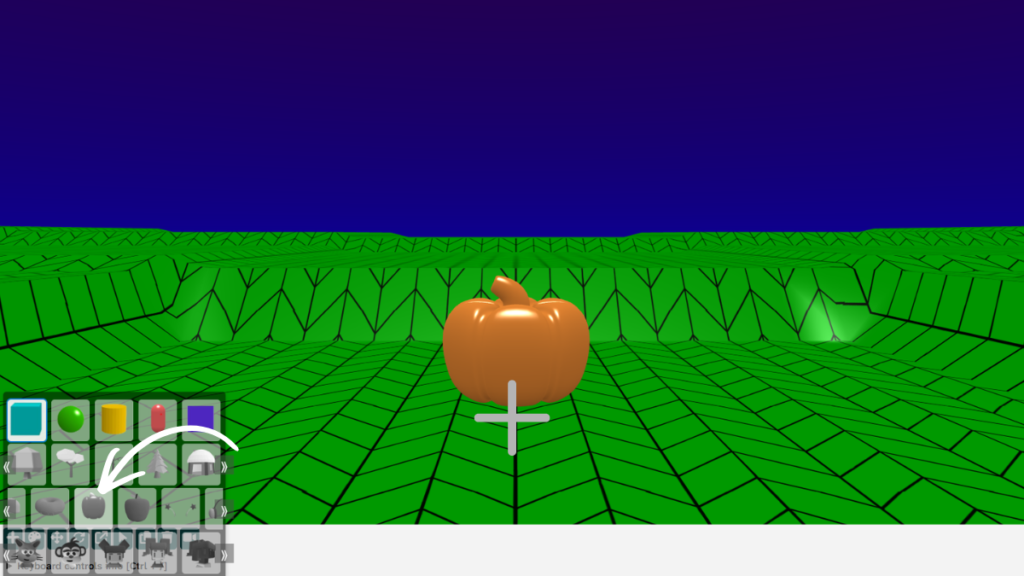
- Click the + icon under the canvas.
- Find the pumpkin model on the third row. You will need to scroll across.
- Click the pumpkin.
- Click in the centre of the map to place the pumpkin.
Add a material
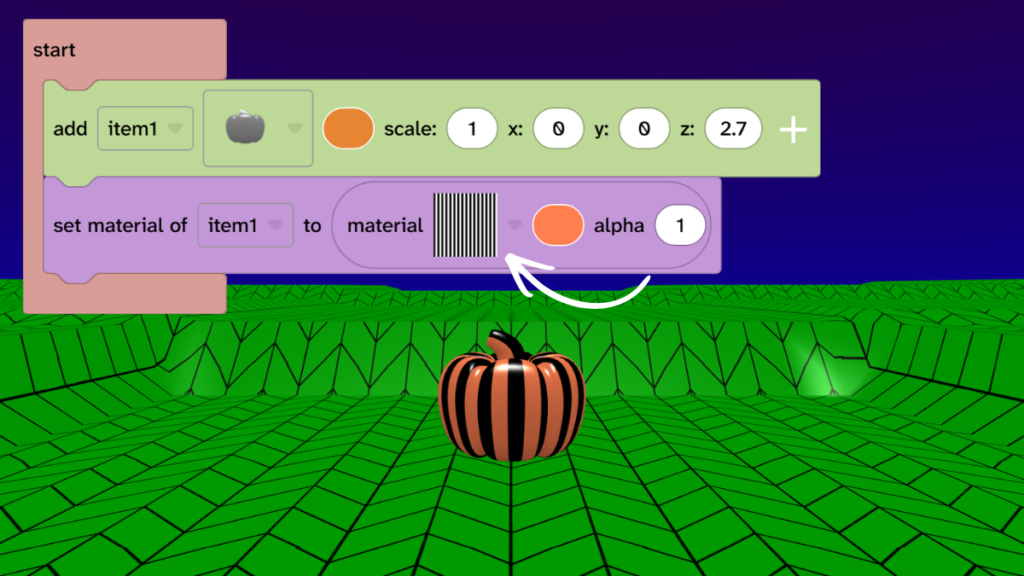
- From Material, drag the ‘set material’ block under the pumpkin block.
- Click on the ‘material’ dropdown and choose a material for your pumpkin.
- Press Play ▶️ to test.
Add colours
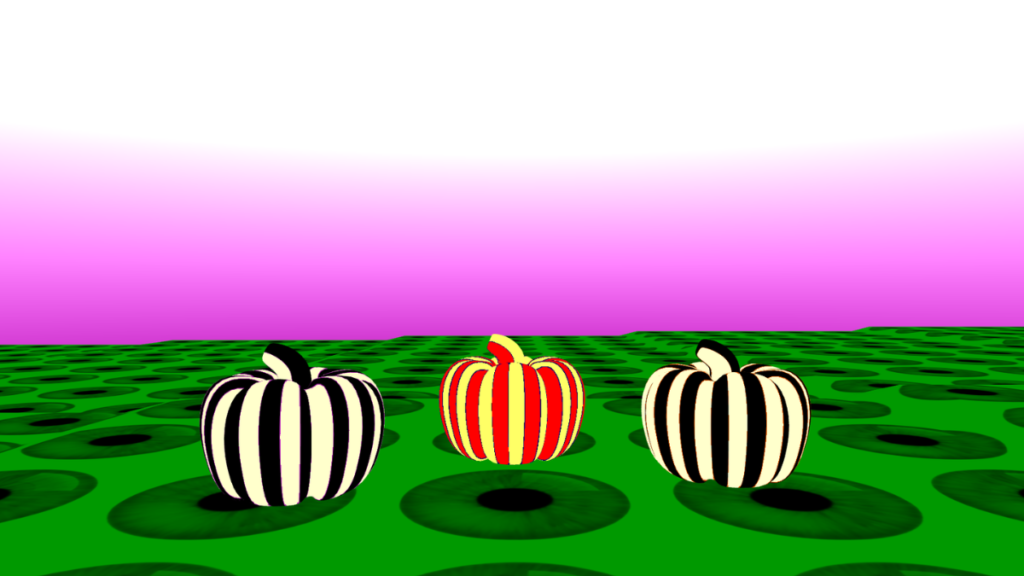
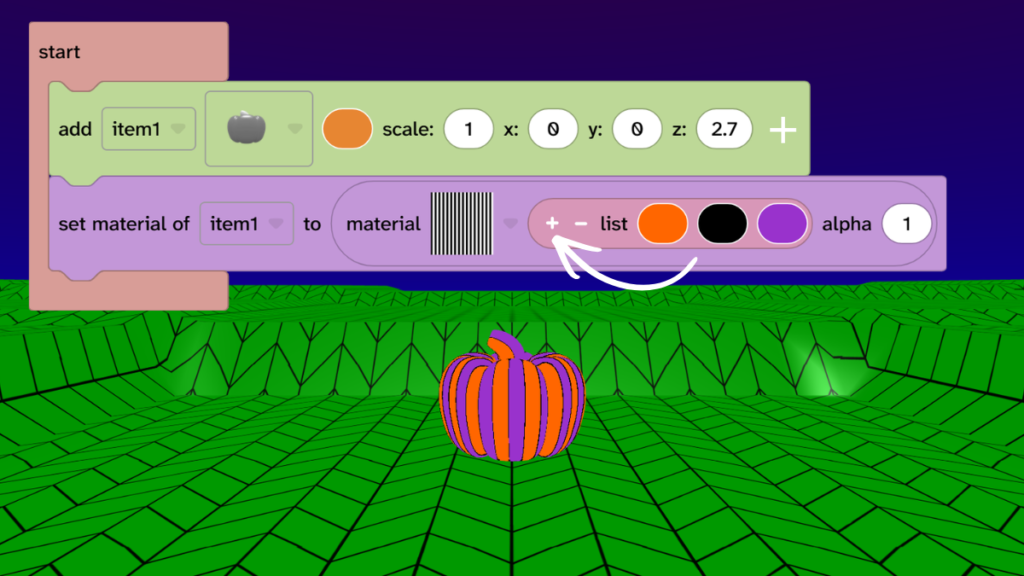
- From Material, drag the list of colours block onto the single colour block on the ‘set material’ block.
- Press the little + on the list to get three colours.
- Choose three colours for your pumpkin.
- Press Play ▶️ to test.
- Try lots of different colour combinations and materials.
- Note: Not all materials have three colours available.
Take it further
- Try different material and colour combinations.
- Add more pumpkins and try different materials and colours on each one.
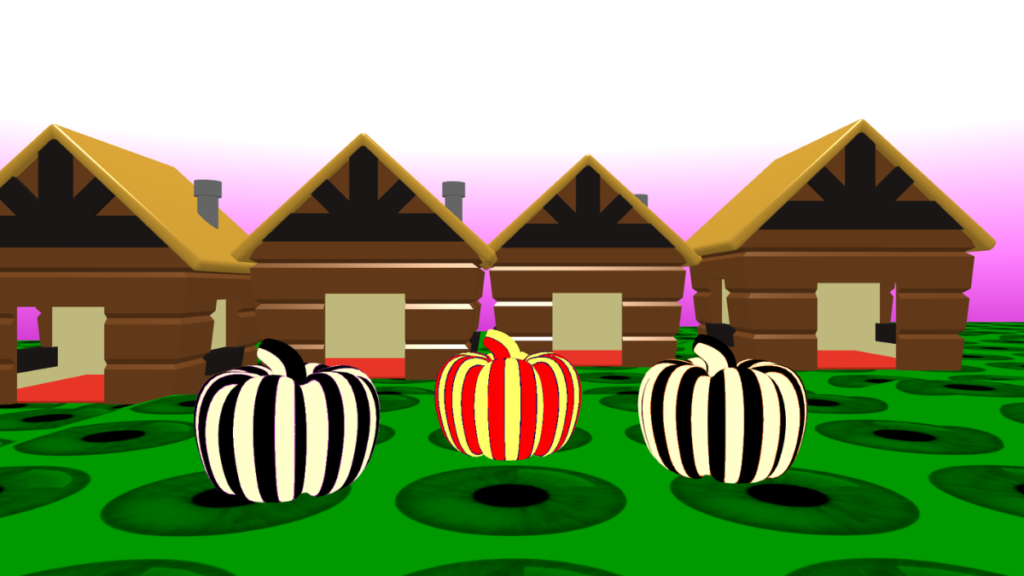
- Add other models to your scene, such as a house.
Idea gallery